Integrating Chatbots with Astro: A Developer's Journey
My experience integrating Botpress with an Astro-based portfolio site, including challenges and solutions for a seamless user experience.
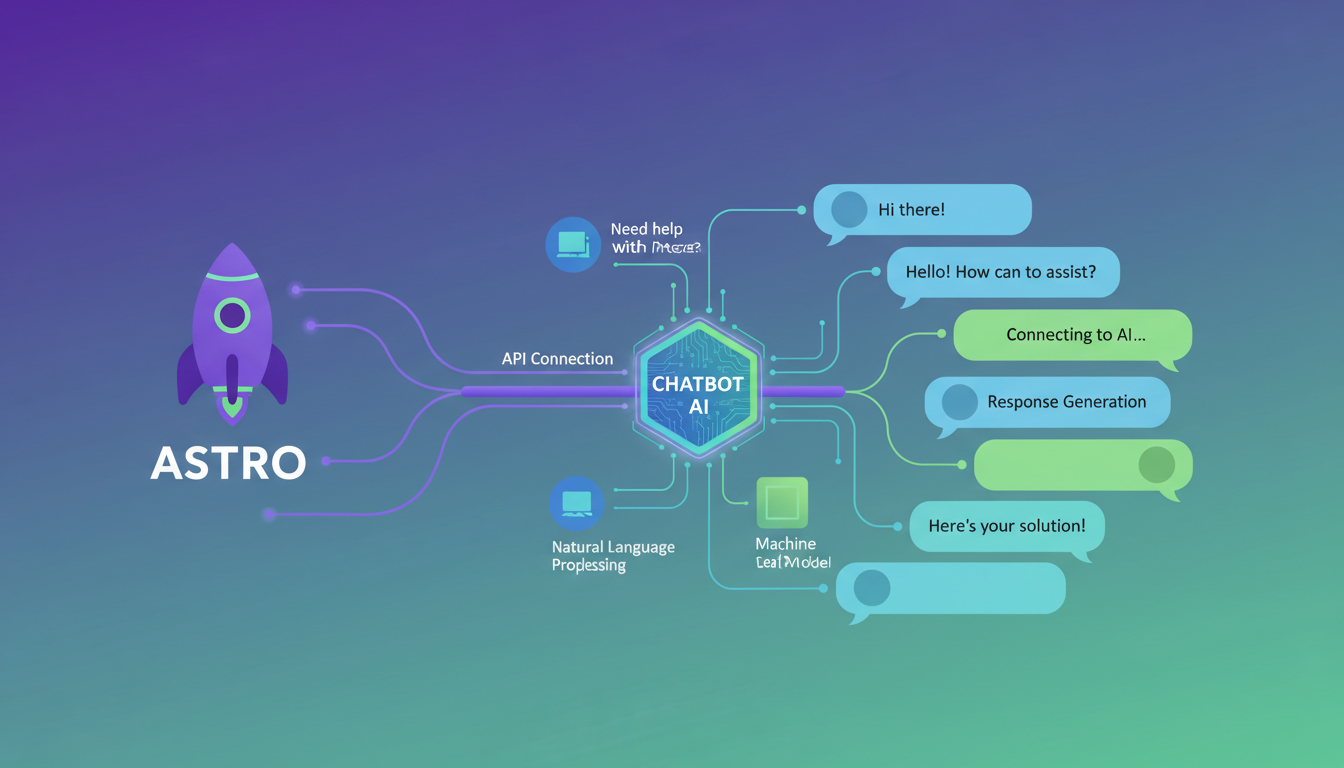
Integrating Chatbots with Astro: A Developer’s Journey
When I decided to add a chatbot to my windsurf portfolio site, I wanted something that would enhance the user experience without compromising performance. As an Astro-based site focused on speed and simplicity, integrating a complex chatbot system presented some interesting challenges.
Why Botpress?
After researching various chatbot solutions, I chose Botpress for several reasons:
- Open-source foundation: While I’m using their cloud offering, I appreciate that the core technology is open-source
- Customizable UI: I needed the chat interface to match my site’s aesthetic
- Reasonable pricing model: As a personal site, cost-effectiveness was important
- Good developer experience: Their API documentation and React integration options seemed promising
The Integration Challenge
Astro’s partial hydration model (islands architecture) means you need to be thoughtful about which components are client-side interactive. For a chatbot, this meant deciding between:
- Using a full React component with the
client:loaddirective - Loading the chatbot after user interaction to save initial load performance
- Creating a minimal loader that only hydrates the full component when needed
I went with option 3, creating a lightweight entry point that only loads the full React chatbot component when a user clicks to initiate a chat.
Code Implementation
Here’s a simplified version of my implementation approach:
// BotpressMinimal.astro - The lightweight entry point
---
import { Button } from '@/components/ui/button';
---

<div class="fixed bottom-4 right-4 z-50">
  <Button
    id="chat-trigger"
    variant="custom"
    size="icon"
    class="h-12 w-12 rounded-full bg-primary shadow-lg hover:bg-primary/90"
    aria-label="Open chat"
  >
    <svg xmlns="http://www.w3.org/2000/svg" width="24" height="24" viewBox="0 0 24 24" fill="none" stroke="currentColor" stroke-width="2" stroke-linecap="round" stroke-linejoin="round" class="lucide lucide-message-circle"><path d="M21 11.5a8.38 8.38 0 0 1-.9 3.8 8.5 8.5 0 0 1-7.6 4.7 8.38 8.38 0 0 1-3.8-.9L3 21l1.9-5.7a8.38 8.38 0 0 1-.9-3.8 8.5 8.5 0 0 1 4.7-7.6 8.38 8.38 0 0 1 3.8-.9h.5a8.48 8.48 0 0 1 8 8v.5z"></path></svg>
  </Button>
</div>

<div id="chat-container" class="hidden">
  <!-- This is where the full chat component will be loaded -->
</div>

<script>
  // Simple script to load the full chat component when triggered
  document.getElementById('chat-trigger')?.addEventListener('click', () => {
    // Only load the component when needed
    import('../components/chatbot/ChatWidget').then(module => {
      const container = document.getElementById('chat-container');
      if (container) {
        container.classList.remove('hidden');
        // Render the chat component
        module.default(container);
      }
    });
  });
</script>
Authentication Integration
One of the more complex aspects was integrating the chat with user authentication. I wanted returning users to have conversation history while still allowing anonymous chats.
Using Supabase for authentication, I created a system where:
- Anonymous users get a temporary session ID stored in localStorage
- Authenticated users have their conversations linked to their account
- When an anonymous user authenticates, their history is migrated to their account
Handling the Backend
The chatbot needs to communicate with Botpress APIs, but exposing API keys in client-side code is a security risk. To solve this, I created a Netlify serverless function that acts as a proxy:
// netlify/functions/chatbot/chat.ts
import { Handler } from '@netlify/functions';
import fetch from 'node-fetch';

const BOTPRESS_API_KEY = process.env.BOTPRESS_API_KEY;
const BOTPRESS_BOT_ID = process.env.BOTPRESS_BOT_ID;

export const handler: Handler = async (event) => {
  // Ensure we're handling a POST request with a body
  if (event.httpMethod !== 'POST' || !event.body) {
    return {
      statusCode: 400,
      body: JSON.stringify({ error: 'Invalid request' }),
    };
  }

  try {
    const payload = JSON.parse(event.body);

    // Forward the request to Botpress API
    const response = await fetch(
      `https://api.botpress.cloud/v1/messaging/bots/${BOTPRESS_BOT_ID}/converse`,
      {
        method: 'POST',
        headers: {
          'Content-Type': 'application/json',
          'Authorization': `Bearer ${BOTPRESS_API_KEY}`,
        },
        body: JSON.stringify(payload),
      }
    );

    const data = await response.json();

    return {
      statusCode: 200,
      body: JSON.stringify(data),
    };
  } catch (error) {
    console.error('Error proxying to Botpress:', error);
    return {
      statusCode: 500,
      body: JSON.stringify({ error: 'Failed to process request' }),
    };
  }
};
Performance Considerations
To ensure the chatbot didn’t impact site performance, I implemented:
- Lazy loading: The full chatbot component only loads when requested
- Code splitting: Using dynamic imports to keep the main bundle small
- Caching: Conversation history is cached locally to reduce API calls
- Optimized assets: Ensuring all chatbot-related images and styles are optimized
Results and Lessons Learned
After implementing the chatbot, I’ve seen increased engagement with visitors exploring more of my portfolio. The most valuable lessons from this integration were:
- Start minimal: Begin with the simplest possible integration, then enhance
- Test across devices: Chat UIs can be particularly challenging on mobile
- Consider accessibility: Ensure the chatbot is keyboard-navigable and works with screen readers
- Monitor performance: Watch for any impact on Core Web Vitals
- Gather feedback: Collect user feedback to continuously improve the experience
Next Steps
I’m currently working on enhancing the chatbot with:
- More personality and specialized knowledge about my windsurf projects
- Better handling of complex queries with possible AI integration
- Analytics to understand which topics visitors are most interested in
If you’re considering adding a chatbot to your Astro site, I hope my experience helps you navigate some of the challenges. Feel free to reach out if you have any questions!
Written by Dean Keesey